A cordless impact driver is a power tool used for driving screws, bolts, and other fasteners. It works by delivering high torque output to the fastener in short bursts of rotational force, making it easier to drive in tough materials such as hardwood or metal. Unlike a traditional drill, an impact driver uses concussive blows to deliver force to the fastener, which results in less strain on the user’s wrist and arm. Cordless impact drivers are powered by rechargeable batteries, which makes them portable and convenient to use in various locations. They are popular among DIYers, contractors, and professionals who need to drive a large number of fasteners quickly and efficiently.
Benefits of Using A Cordless Impact Driver Over A Traditional Drill
- Cordless impact drivers deliver significantly more torque than traditional drills, making them ideal for driving large screws, bolts, and other fasteners.
- The concussive force of an impact driver means less strain on the user’s wrist and arm compared to a traditional drill. This makes it easier to use for extended periods.
- Cordless impact drivers are faster and more efficient at driving fasteners than traditional drills. The impact mechanism delivers more power with each rotation, reducing the time it takes to complete a task.
- Cordless impact drivers are versatile and can be used for a variety of tasks such as driving screws, bolts, nuts, and even drilling small holes.
- Cordless impact drivers are powered by rechargeable batteries, which makes them highly portable and convenient to use in different locations.
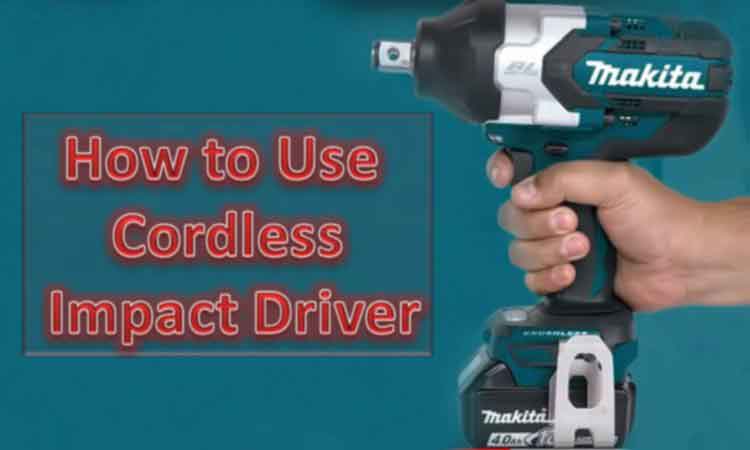
How to Use a Cordless Impact Driver Complete Guide
Using a cordless impact driver can be a very useful and efficient way to drive screws and bolts. It is a versatile tool that can be used for a variety of tasks, from simple DIY projects to professional construction jobs. However, if you have never used a cordless impact driver before, it can be a bit intimidating at first. In this guide, we will provide you with a step-by-step guide on how to use a cordless impact driver properly and safely.
Step 1: Safety First
Here are some important safety tips to follow when using a cordless impact driver:
- Wear eye protection to prevent flying debris from causing eye injuries.
- Wear hearing protection to protect your ears from loud noise.
- Keep loose clothing, jewelry, and hair away from the tool to avoid getting caught in the tool’s moving parts.
- Use the tool in a well-lit area to ensure you can see what you’re doing.
- Keep your work area clean and free of obstacles to prevent tripping or falling.
- Always follow the manufacturer’s instructions and warnings for the tool.
- Do not use the tool in wet or damp conditions to avoid electrical shock.
- Keep the tool away from children and untrained individuals to prevent accidents.
- Inspect the tool and its accessories before use to ensure they are in good working condition.
- Do not exceed the recommended capacity of the tool, such as overloading the battery or using the tool for tasks it is not designed for.
Step 2: Choose the Right Bit
Type of Bits: The first step in choosing the right bit for your cordless impact driver is to consider the type of bit you need. The most common types of bits are Phillips and flat-head screwdriver bits, but there are also hex, Torx, and square-drive bits available. The type of bit you choose will depend on the type of screw or bolt you are using.
Size of the Bit: Once you have determined the type of bit you need, you will need to choose the right size of the bit. The size of the bit should match the size of the screw or bolt you are using. Using the wrong size bit can cause the bit to slip or strip the screw or bolt, making it difficult or impossible to remove.
Length of the Bit: The length of the bit is also important to consider. If the bit is too short, it may not reach the screw or bolt head, making it difficult to drive the screw or bolt in. If the bit is too long, it may cause the tool to become unbalanced, making it difficult to control.
Material of the Bit: The material of the bit is also important to consider. Bits are typically made of steel, but there are also titanium-coated and carbide-tipped bits available. Titanium-coated bits are more durable and resistant to wear and tear, while carbide-tipped bits are more durable and better suited for drilling through hard materials such as concrete and metal.
Step 3: Insert the Bit
Here are the steps to insert the bit into a cordless impact driver:
- Make sure the tool is turned off and the battery is removed before inserting the bit.
- Pull the chuck forward to open it and expose the bit holder.
- Insert the bit into the holder, making sure it is straight and fully seated in the holder.
- Release the chuck to secure the bit in place.
- Give the bit a gentle tug to ensure it is securely in place.
- If you need to change the bit, repeat the process by pulling the chuck forward, removing the old bit, and inserting the new one.
Step 4: Adjust the Speed and Torque
- Check if your cordless impact driver has a variable speed trigger. If it does, adjust the speed by pressing the trigger more or less.
- If your cordless impact driver has a speed control dial, turn the dial to adjust the speed according to your needs.
- To adjust the torque, look for the torque adjustment ring or switch on your cordless impact driver. Turn the ring or switch to adjust the torque setting.
- Be careful not to set the torque too high as it can damage the material you are working with. Adjust the torque setting based on the task you are performing.
- If you are not sure how to adjust the speed and torque of your cordless impact driver, refer to the user manual for guidance.
Step 5: Hold the Tool Properly
When using a cordless impact driver, it is important to hold the tool properly. Grip the handle firmly with one hand, and use your other hand to support the back of the tool. This will help you maintain control over the tool and prevent it from slipping or twisting in your hand.
Step 6: Align the Bit
Before you start driving the screw or bolt, make sure the bit is properly aligned with the screw or bolt head. This will help prevent the bit from slipping or stripping the screw or bolt. Hold the tool perpendicular to the surface you are working on, and apply gentle pressure to the screw or bolt to keep it in place.
Step 7: Start Driving
Once the bit is properly aligned, you can start driving the screw or bolt. Apply gentle pressure to the trigger to start the tool, and let the tool do the work. You do not need to apply a lot of force or pressure to the screw or bolt, as the tool will do most of the work for you. Keep the tool perpendicular to the surface you are working on, and maintain a steady hand as you drive the screw or bolt.
Step 8: Finish the Job
Once you have driven the screw or bolt all the way in, release the trigger to stop the tool. Remove the bit from the chuck, and move on to the next screw or bolt. Make sure to clean and store the tool properly when you are finished using it.
Conclusion
Using a cordless impact driver can make your DIY tasks much easier and efficient. However, it is crucial to choose the right impact driver, adjust the speed and torque settings based on the task, and use the correct bit for the job. Additionally, it is essential to follow proper safety procedures, including wearing appropriate safety gear and holding the impact driver correctly. By using these tips, you can maximize the benefits of your cordless impact driver while ensuring your safety. Lastly, don’t forget to maintain your impact driver regularly and troubleshoot any issues that may arise to ensure it lasts a long time. With these steps in mind, you can confidently use your cordless impact driver for all your DIY tasks.


